Showing posts with label Yum Yum. Show all posts

Monday, February 17, 2014

Yum Yum: Thin Pizza Crust

We love thin crust pizza at our house, so we are always looking for thin crust recipes.  We tried this one over the weekned.

We started with yeast.  I buy my yeast in bulk!   It's way more cost effective than the little packets for me.


Add water.


Then flour.


Plus olive oil! (Yum!) 


Then throw it in the Kitchen Aid to be mixed while I cut up the toppings.


Mix mix mix!


Let the dough rise...


Top, and cook!  There's pepperoni, mushrooms, green onions, and cheese here.

I'm sorry to say that I forgot to take an after picture, but it was DELICIOUS! I think it's going to be one of my go-to recipes!

Thursday, February 6, 2014

Cold Weather Food: A Big Pot of Chili

It's time to break out the "dang, it's cold today" food, and since the weather has left the roads conditions less than ideal, it has to be stuff I found in my pantry and freezer.  Chili it is.  I decided to try this pin, because the author of the recipe makes it fun! 


He said to brown a  couple of pounds of ground beef, but I only had two hamburger patties.  That's fine- we're not huge meat eaters in my house anyway.  I'm using my enameled cast iron dutch oven to make this dish.


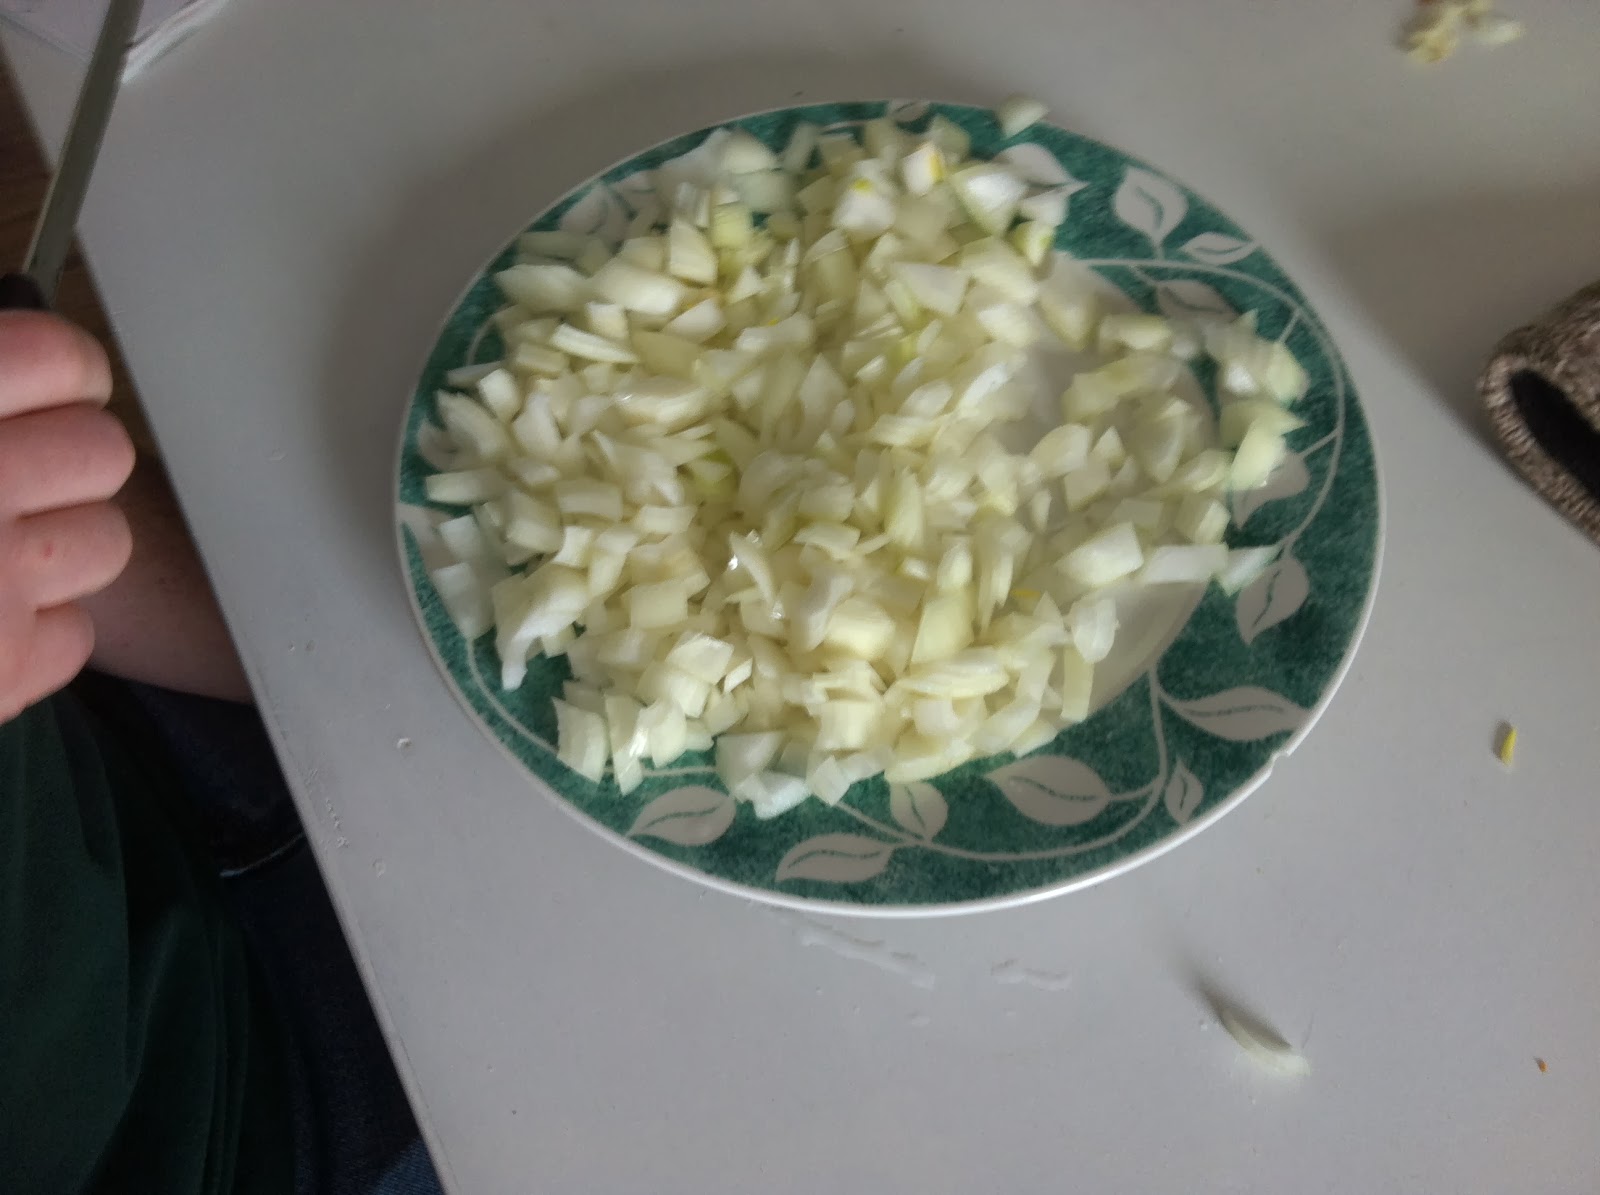
The recipe says to use "lots and lots" of onions." That's two onions on that plate.


I added the onions to the cooked beef.


Then added green peppers. (I buy them on sale, chop them up, and flash freeze them for days like this.)


I also added a squirt of garlic paste in lieu of chopped garlic.


Next, I twisted some pepper in using my pepper mill.


I added cumin and chili powder. (I buy spices that I go through a lot of at Sams.  Wayyy cheaper that way!)


Then I added some cayenne pepper. (optional)


Next came tomato paste.  I buy things in giant cans at Sams Club for a song, then sort them out into ziplock freezer bags. If I'm feeling particularly organized, I'll label them using Avery labels printed out on my computer.  If I'm in a hurry, I'll just write it on the Avery label.


Next, add beer.  I used what we had in the house, which happened to be Sapporo. 

Plus a generous squirt of Rooster Sauce


Let it simmer for an hour and a half.  (That's why it's so good on a snowy, cold day!)


Next, add the beans. (I buy giant cans of beans and freeze them in serving sizes too!)  Let it summer several more hours.


The result was so delicious.  We had ours with crumbled crackers and shredded cheese.

Tuesday, February 4, 2014

How to Make Easy, Delicious Cheese Dip

Here's the dip we made to enjoy during the Super Bowl. (Did you SEE that game?  I am not a football person at ALL, and I could tell how horrible that game was for Denver!)  Anyway, Cheese Dip is one of our favorite special occasion snacks.  My grandma learned how to make this in the 50's or 60's, and my dad made it for us when we were small.  Now I carry on the tradition!

It's super easy.  You only need three things: Velveeta, Rotel, and Fritos.  Fritos are the official cheese dip chips in my family- nothing else will do!  I suppose you could use something else, but it would not be the full cheese dip experience without Fritos. 


That's all you need!  We only use 1/2 the block of Velveeta.  If you use the whole block, use two cans of Rotel.


I'm old school and use a double boiler, but I suppose you could microwave it.  I'm not sure if the texture would be the same if you used the microwave. The double boiler above belonged to my grandmother.


Cube HALF the cheese.   It does not have to be exact.  I go for approximately one inch cubes.  (I store the other half in one of these things- I think I got mine free as part of a promotion at a grocery store, but you can apparently buy them.)


Put the cheese in the double boiler and dump a can of Rotel on it, juice and all. (My mother is doing the pouring here. Making cheese dip is a family affair!)


This is what it will look like.  After the water is boiling in the double boiler, reduce the heat to low. 


 Give the dip a mix every now and then.  Keep mixing occasionally until all the cubes are completely melted.


When it is melted and creamy, turn off the heat and dish up servings. 


Enjoy with delicious Fritos!  

Monday, February 3, 2014

DIY Baked Strawberry Donuts

My parents came to visit this weekend.  To celebrate, my mom and I made these donuts.  I'm not much of a donut eater, but the strawberry cake style donuts looked so good that I had to give them a try!


We started with strawberries.  Mom cut off the tops.  We did not use all of these, but they'll be a treat at breakfast tomorrow.

The recipe called for a donut pan like this, but Mom had a bunt pan  that did the job just as well. Plus it made the donuts look like cute 'lil bunt cakes! 

 Mom mashed the strawberries with a fork.

 I combined the dry ingredients.  1 cup of flour....

 Sugar...
Baking powder...

Cinnamon...


and salt.


I gave the dry ingredients a quick stir with a fork.


 Mom got the wet ingredients together.  She started with milk.


Beat an egg into the mix.


 Added vanilla...(it called for maple syrup, but we prefer vanilla.)

 then got some butter ready by melting it and putting it to the side.


She mixed the wet items together, then added it to the dry ingredients. 


It looked kind of pretty!


We then pulled out my handy Kitchen Aid Mixer to do mixing for us.

 Mixing and mixing....


Mom added the melted butter while it was mixing.


Once it was mixed together fairly well, we added the mashed strawberries a 1/2 cup at a time.


Pretty!

We then filled the bunt pan with the batter.

We got every bit out using my  Silicone spatula


All gone!


And then threw it it my (slightly well loved- perhaps an oven cleaning pin soon?) oven.  While it was baking , Mom made the glaze.


We had some leftover strawberries, so Mom decided to use them in the glaze.  I think it was a good move! 


Powdered sugar and milk...

Mix mix mix mix....

She switched to a whisk.  We should have used a bigger bowl, but Mom got it to work.


We turned the baked donuts on to a cooling rack.  We put some foil below to make cleanup easier for the next step.

We drizzled the glaze over the donuts.


Here's a close up.  We were a bit worried at this point, because they sure did not look very pretty.  However, I'm here to show you the *real* process and how it *actually* looks, so here you are! 


We did not need to worry!  They were delicious!  My husband, Mom, Dad and I ate the whole batch today.  They were best when they were hot out of the oven.


I'd call this one a success!